

Planning a Vegetable Garden
It is not a shovel that begins the vision of a home-grown vegetable garden, but a plan. Although the idea of getting your hands in the dirt is exciting, what you should do to make your garden a success is actually take the time to plan it. A well-planned garden will help you avoid typical mistakes and assist you in the most effective use of your space, time, and effort.
Here is how to do it so that your vegetable garden would be a dream come true.
Step 1: Choose the Right Location

Your garden’s location is what will make it as successful as possible. You must find the right spot in your yard before buying your first seed.

- Sunlight is Key: Most vegetables require a minimum of 6-8 hours of direct sunlight daily, especially fruit-bearing vegetables like tomatoes, cucumbers, and peppers. Check for the sunniest location in your yard during the daytime. Be careful to pay attention to shadows cast by trees, fences, or your house that may change during the course of the day
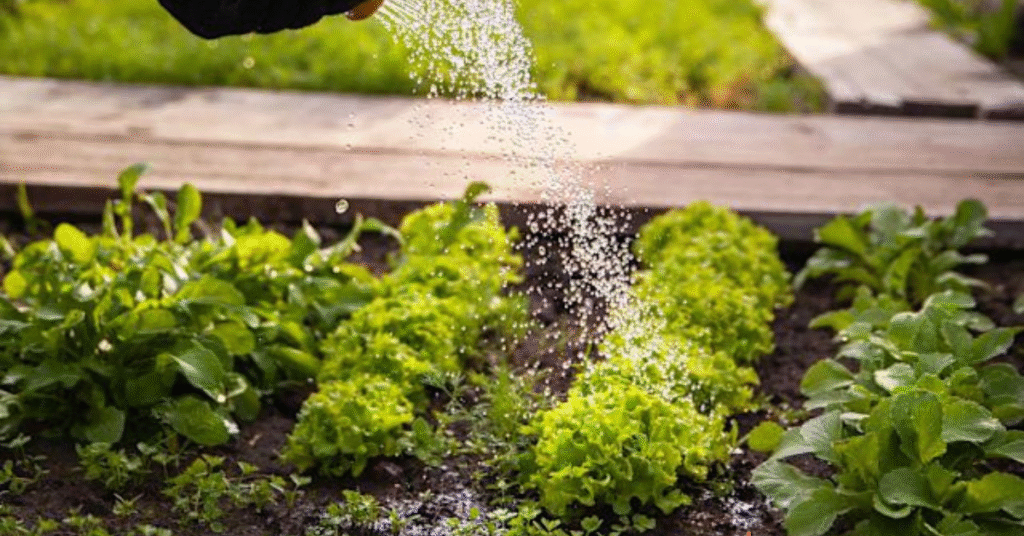
- Access to Water: Plants will be in need of water regularly to enhance growth, hence as a gardener you need to have swift access to a water source. Find a spot in which a hose will reach easily or one that is close to a water spigot. This will save a lot of time and effort.
- Drainage: Plants do not like having their “feet wet.” A location needs to be selected which is not covered by standing water following a rainstorm. Clay-heavy soil with poor drainage may be corrected by building a raised bed.
Step 2: Plan Your Garden’s Layout
The second step after identifying a suitable site would be to think about how you will organize your garden beds. The two most popular options are raised beds and in-ground beds.
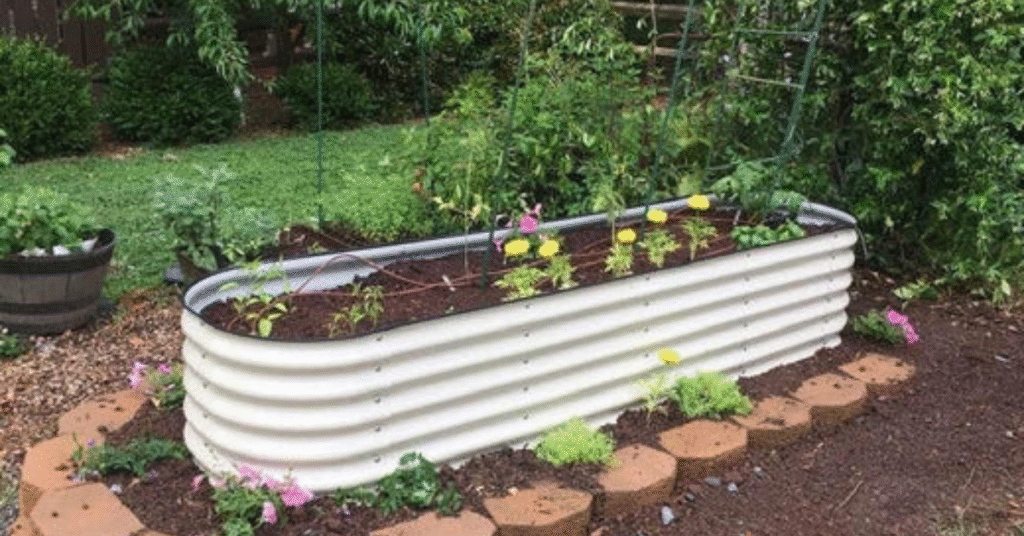
- Raised Beds: This is an ideal option for a first-time gardener. They are easily drainable, allow you to manage the quality of the soil yourself from the beginning, and, with the reduced amount of bending, are easier to handle. The pronounced edges may also serve as a prevention against pests like slugs and snails.
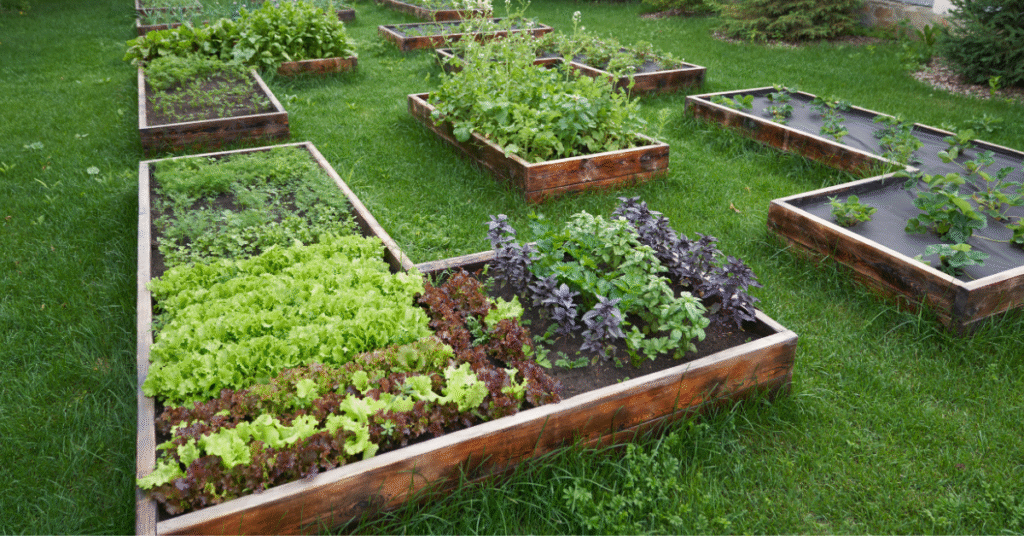
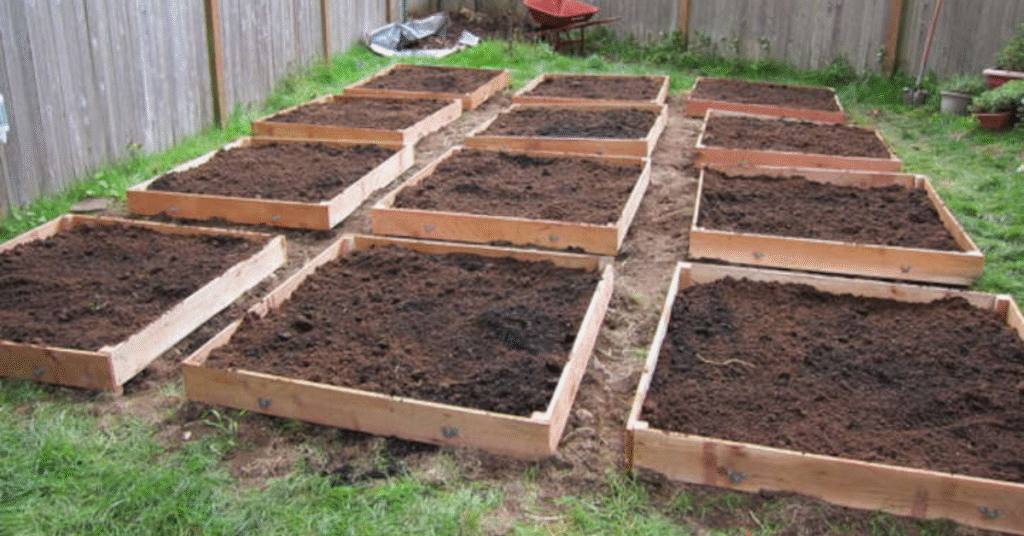
- In-Ground Beds: This is the oldest of the methods and in certain cases a cost-effective technique. They can cover more extensive surfaces and deep-taprooted plants can grow there. By following this route, you may end up taking longer time to rectify your soil.
Whichever you choose, remember to leave plenty of space between the beds so that you can easily move a wheelbarrow or a basket of fresh vegetables. The bed should be approximately 4 ft wide; this will enable you to reach the center position when you stand at both sides of the bed without having to compact the soil.
Step 3: Select Your Vegetables
This is the exciting part! The general principle is to raise what you like to eat. However, a small preparation in this regard may work pretty well.
- Know Your Climate: Learn your local hardiness zone or the average date of the last frost. This will be an indication of when you should plant certain crops at the safest point in the year. Planting plants with similar needs together is also simpler.
- Consider Your Space: In a small yard, find out about the varieties of vegetables you love most. Often, these are the so-called bush type vegetables, or smaller versions. Vining-type plants such as cucumbers and beans can be fastened vertically to a trellis where they will occupy less space.
- Experiment with Companion Planting: There is great benefit in reading up on the plants that can be planted together. For example, marigold seeds planted next to tomatoes could repel nematodes, and tomatoes could even taste better in the presence of basil.
Step 4: Create a Planting Calendar
It is all about timing in the garden. The planting schedule will be designed depending on whether the crop is a cool-season or a warm-season crop.
- Cool-Season Crops: Peas, radishes, lettuce, and spinach are cool-season crops. They like cooler surroundings and can generally be planted at the beginning of spring and the end of summer.
- Warm-Season Crops: These consist of tomatoes, peppers, corn, and squash—varieties of vegetables that can only be cultivated and thrive in warm areas. They must not be sown until all risk of late frosts has passed.
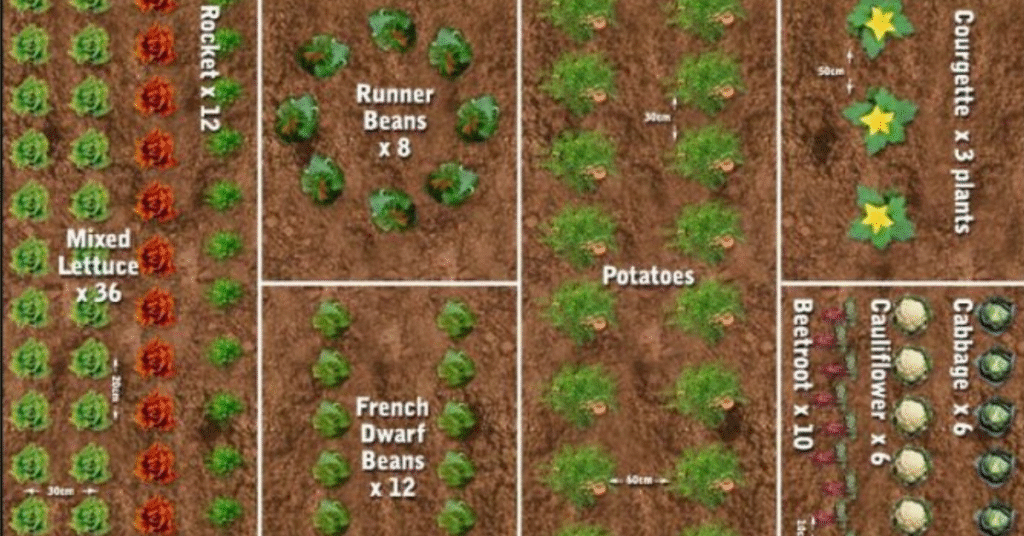
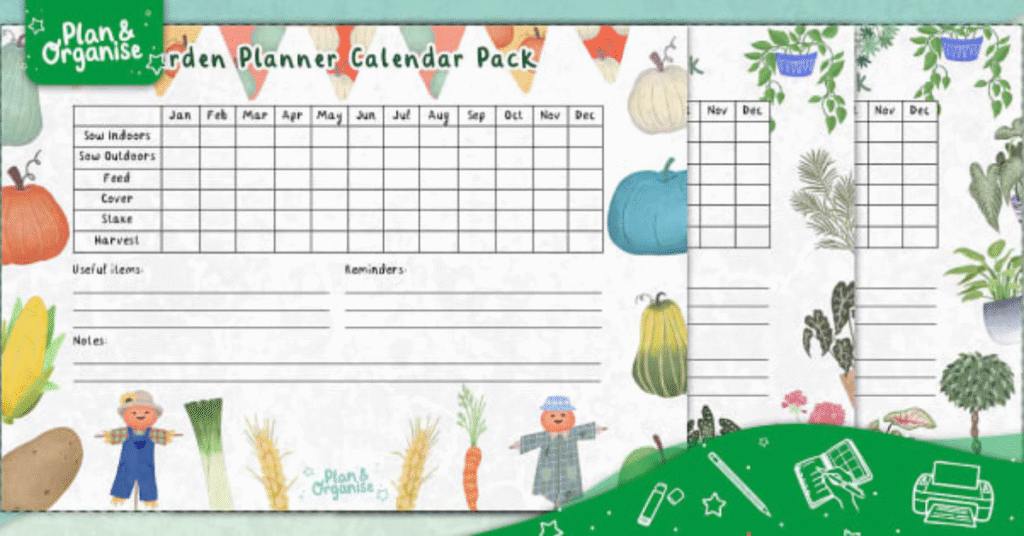
Step 5: Draw a Garden Map

Get out some graph paper or a notebook and sketch up a basic map of your garden. This map will not only help you lay out your plants correctly with the proper spacing, but also may help you know how you will rotate your crops next year. Point out the beds and assign what vegetable should be planted on a particular bed. It is a minor process that will turn your visions into a feasible plan for your garden.
You have the plan and you are now ready to plant. Keep in mind that gardening is a lifetime educational experience and every season is a chance to be tested and to learn. Have a good time and get ready to eat some of the freshest and most delicious vegetables you have ever tasted!