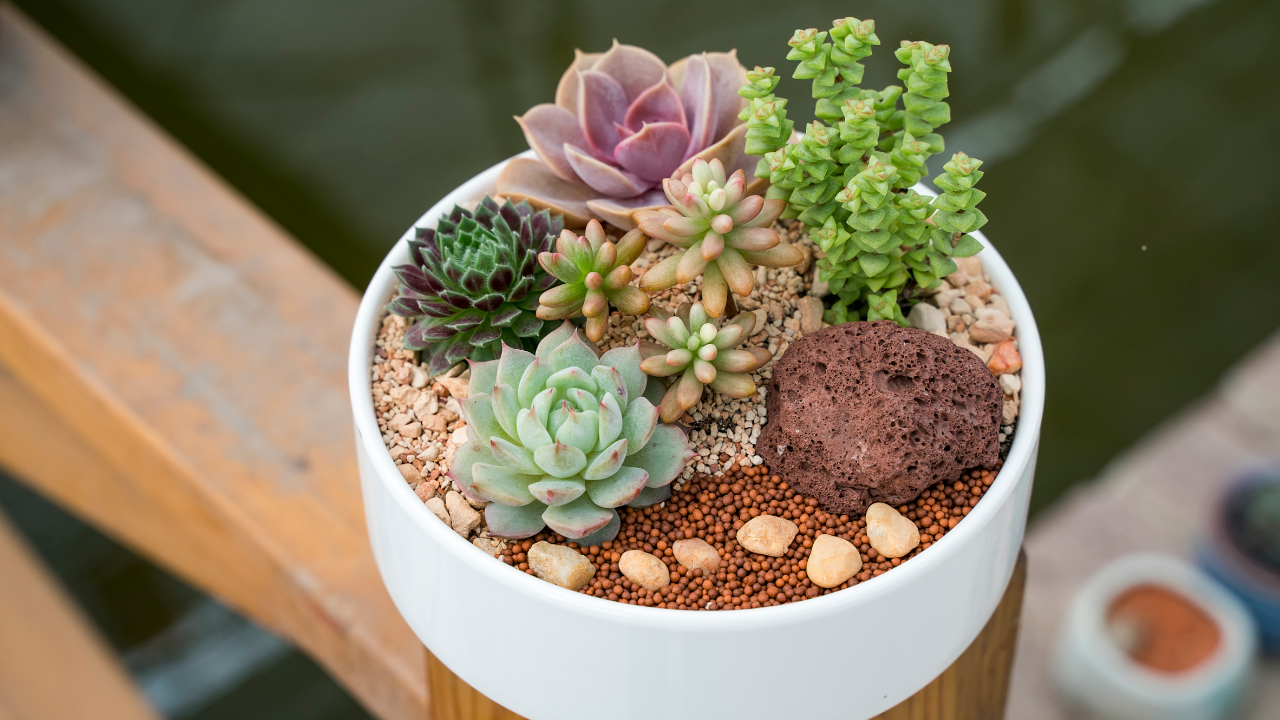
Succulents are easily propagated and this is an excellent method that will allow you to increase your plants at a minimal cost. Hardy, water-storing plants though they be, they are dispiritingly simple to raise a cutting. Propagation in soil and in water are the two most popular methods of propagation that are used by beginners and each has an advantage.
In this guide we will step you through the necessary requirements of both these procedures and you will have the best chance of success.
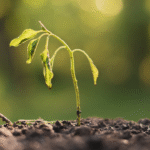
The First Step That Is the Most Crucial One: The Callus
The preparatory steps that must precede all types of succulent cuttings apply equally to both of the methods. You have to dry the cut end of the leaf or stem and have it form a protective callus.
- The reason it is important: Succulents are very sensitive to moisture on their cut surfaces. When you plant or immerse a fresh cutting in the soil or water, there is high possibility of it taking away too much water and this results to fungus or the killing of the cutting.
- How to prepare it: Ok so after you have yours taken, just place it on a clean and dry surface (i.e. paper towel or a regular tray) and set it somewhere dry in a warm place with indirect sunlight.
- Time required: The callusing process should normally take a few days although this process can differ depending on the size of the cutting which is prepared and the humidity of environment you are in. It will be ready when the end that you cut feels and looks dry and sealed.
In the first method, propagation of succulents is done in soil.
This is the most conventional and adviseable means to do the job as it resembles the way succulents reproduce themselves in the wild.
My requirements are plasma TVs, bikes and shoes.
- A succulent stem or leaf segment cut A well-cutting of a succulent leaf or stem
- A tray or shallow pot with holes
- Quick -draining soil blend (use a cactus/ succulent blend)
- A spray bottle of water
Step-by-Step Guide:
- Trim the Cuttings: Twist a leaf off of the parent plant; make sure that the whole leaf, including the base of the leaf is removed cleanly. If cut down a stem, take a clean sharp knife or scissors, and cut off a section 2 or 3 inches.
- Leave to Callus: Let the cuttings dry in a well-ventilated place to callus the cut ends over completely.
- Fill your tray or pot with a well draining soil mix. Spray the soil lightly with water and make them just a little wet, not soaked.
- Putting in the Cuttings:
- For leaves: The callused leaves could be put lying flat on top of the soil, or a little bit of the callused end can be put gently into the soil with the tip turned at a slight angle. The callused end will be the area where fresh roots and plantlet sprout.
- In the case of stem cuttings: Press the end of the stem which contains the callus inside the ground and position it deep enough that it may stand firmly and that the leaves are above the ground.
- Give Them the Appropriate Setting: Put the tray in a place which has received bright, indirect sunlight. It prefers not to be exposed directly to the sun because this is likely to scorch the new growth that is fragile.
- Waiting and watering: This is the most important part. Do not overwater Spray the ground with water every few days, so that it remains moist. The new roots will be stimulated to grow to seek water.
- Wait Results: In few weeks, you will notice presence of tiny roots as well as the plantlet through the callused end of the leaf or stem. When the new plantlet has reached a few inches in height and has a well established root system, it can be planted out into its own pot.
In a second way, Succulents are propagated through water.
Less conventional, but exciting and in some ways satisfying, propagating in water can be exciting and satisfying in a way, since one can monitor root development.
What you must have Here you must only have What here is due and owing Several of the trifles, which As unattained possessions lie However be it that some Say, by if be it that I Am here and thou one thing Which you have, and thou hast The good things thou hast, I Have not, and hast not that I Want thou hast and want have Not, and hast not, that want Not, and hast not, that want Not, and hast not that want.
- A healthy succulent leaf or stem cutting
- a transparent piece of glass or a vessel
- Room-temperature deionised water
- Toothpicks, plastic wrap or a special propagation lid
Step-by-Step Guide:
- Make the Cuttings: Just as in the soil method, take a nice healthy cutting of a stem or a leaf.
- This is an even more important step in water propagation. Place the cuttings in a dry location to harden the end of the cuts since this will take at least 3-5 days depending on how dry the area is.
- Fill your clear glass with water. It is only the callused portion of the cutting, which should be submerged and not the leaves or the entire stem.
- Support the Cutting: Support the cutting on a couple of toothpicks, or a piece of plastic wrap with a little hole punched in it, or a propagation lid, so that it is just hovering above the water, with only the tiniest part of the callused end actually touching the water.
- Use the Appropriate Environment: Place the container in a bright indirect sun place.
- Monitoring and Patience: Changing out the water frequently, every few days, keeps the water clean and algae free. In a little time, little roots will appear at the callused end.
- Transplant to Soil: After two inches of root, the plant should be transferred to the soil. This is an essential process since there is a distinction between water roots and the soil roots. Put the rooted cutting in a pot of well-draining soil and water sparingly over the first few weeks, so that the plant can get used to its new environment.
Tips on Success
- The time of the year matters: Propagating of the plants is best done in the spring and summer when the plants are growing.
- Be patient: Propagation does not occur within a short time. Even though the results are not instantly present, do not get discouraged by that fact
- All the cuts will not work: It is normal to have some losses. Try planting several cuttings so that you have more chances to succeed.