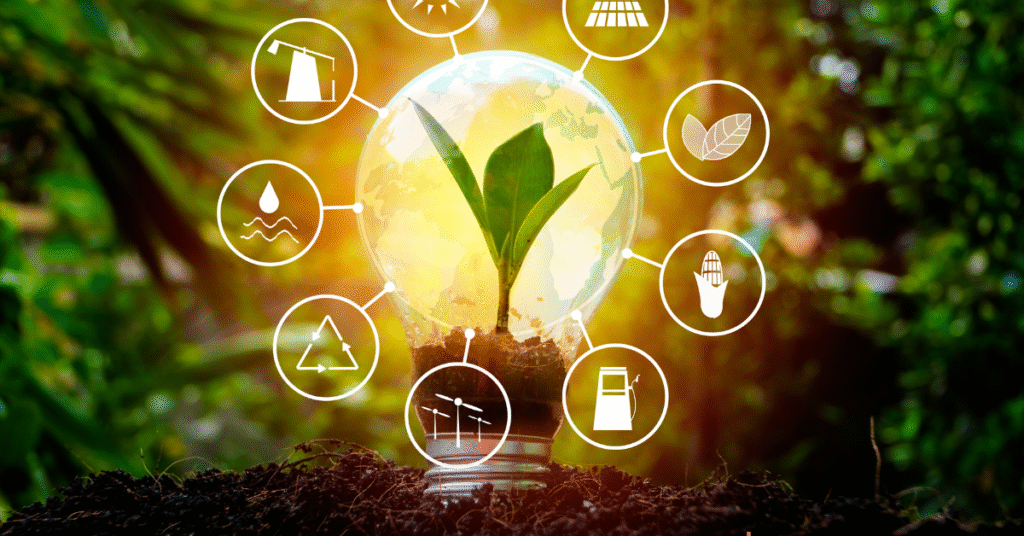
When you live in a region with a short-lived growing season or where the spring weather is erratic, it can be very beneficial to start seeds inside the home and get them growing early enough to be ready to transplant outdoors before the weather becomes too warm. It helps you to grow delicately young plants in an enclosed area enabling them to have a good head start and then later expose them to real world environments. Sowing seeds indoors may seem a daunting task, but with a bit of preparation and with a clear process all of us can learn how to do it. This gardening handbook will take you through all that you need to know to successfully grow your own seedlings.
Step 1: What to Prepare to Get Started
Make sure that you have all the required materials when you are starting the process, to make it smooth and organized. You will be prepared and not running around to find things that you need.
- Seeds: Use high quality and good quality seeds. Make sure to select them according to your climate and how much space you want them to grow to.
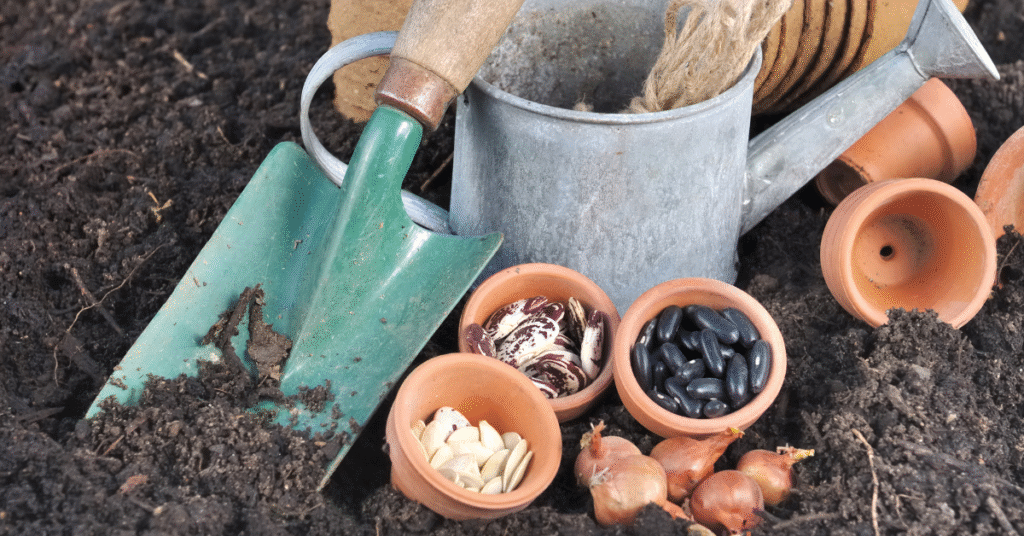
- Container: You can use a few options when it comes to containers. You can plant into plastic seed trays, peat pots, even biodegradable pots, and even egg cartons or yogurt cups (be sure to poke drainage holes into the bottom).
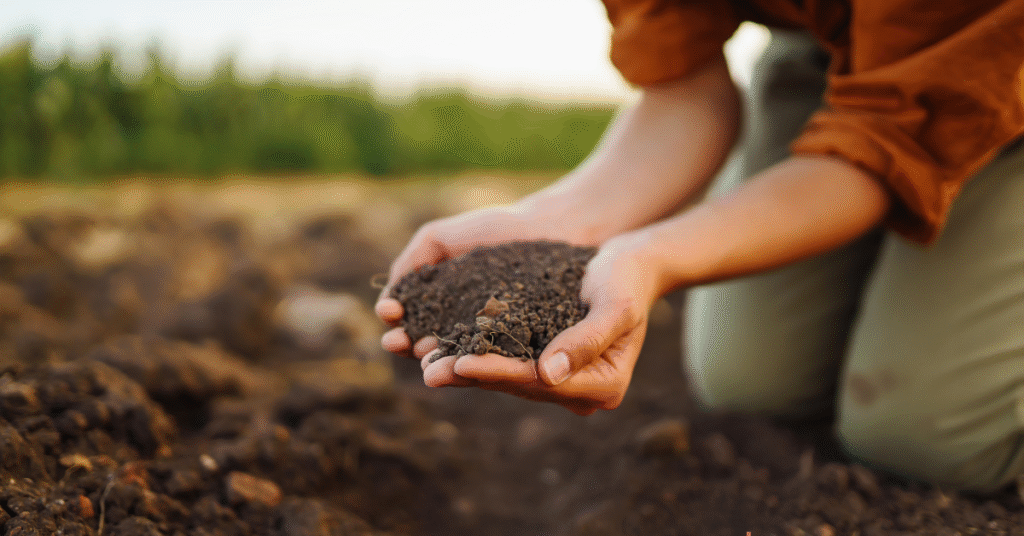
- Soil: Do not use garden soil. It is too heavy, can carry diseases and gets compacted. Use a lightweight sterile seed starting mix. This combination is optimum on germination and is well drained and aerated.
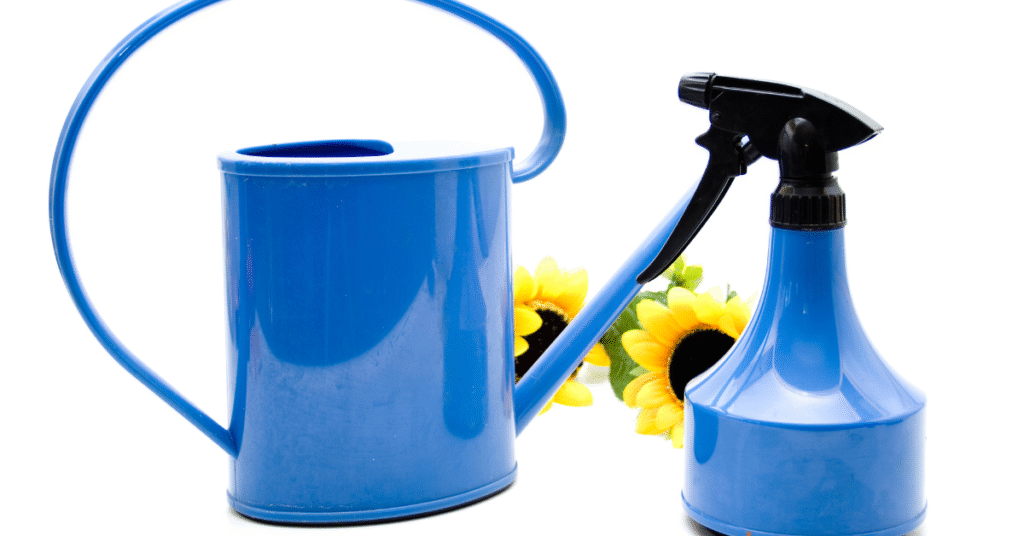
- Watering Can or Spray Bottle: A small watering can with a fine spout or a spray bottle are perfect at ensuring the soil around the tiny seeds are watered without having to disturb the seeds.
- Labels and a Pen: This is a very important stage! You tend to forget what you planted where. Label the pots or sections of the tray with the species and the day you sowed the seeds.

- Light Source: A bright windowsill will do, but nothing beats a grow light. Grow lights create reliable, intense light and, as a result, seedlings do not become leggy and weak.
- Heat: The seeds require warmth to sprout. A heat mat is a great way of getting a constant, even warming underneath and will improve the germination rates and polices.
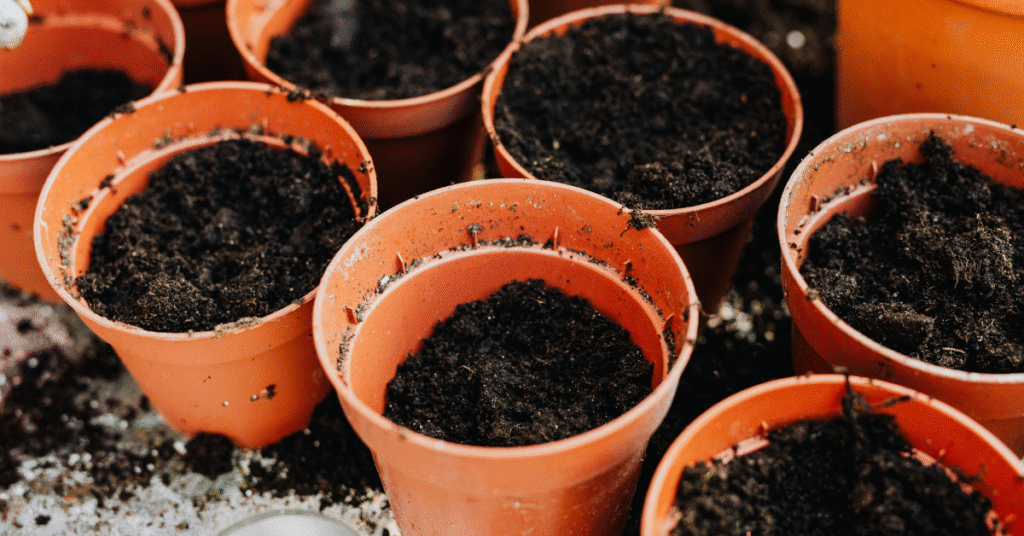
Step 2: Container and Soil Preparations
Now it is time to prepare the conditions under which the seeds have to grow.
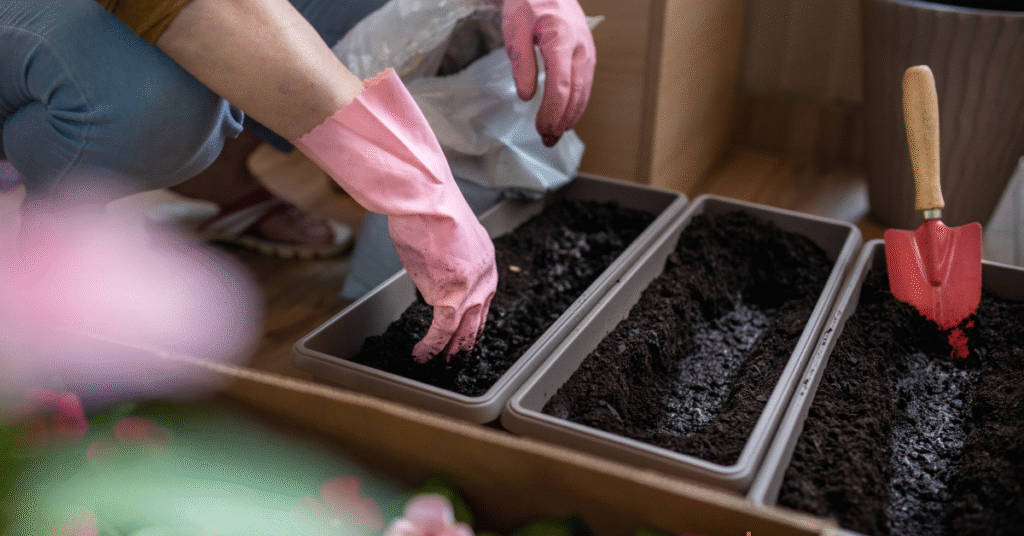
- Wet the Soil Mix: You can put the seed starting mix in a bucket or a large bowl. Gradually add water and knead it with your hands until the mix has an even moisture. It needs to be like a wrung out sponge, moist not sodden.
- It is time to fill your containers with the seed starting mix that has been moistened, then about half an inch at the top is free. Provide some tamping of the ground to eliminate the bigger air pockets.
- Make a Drip Tray: Put your filled containers in a plastic-lined tray or in a dish made of waterproof material. This will not allow extra water to go down the drains at the bottom of the pots.
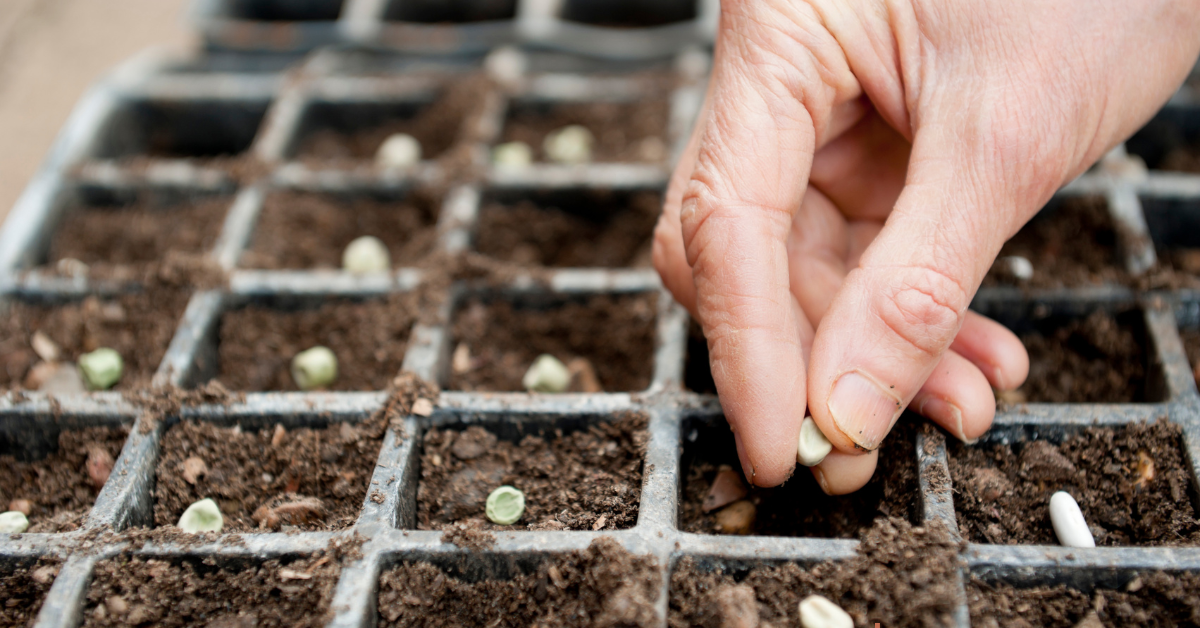
Step 3: Seed Planting
This is the most fragile, and thrilling aspect of the journey. Be careful to follow the instructions on the seed packet.
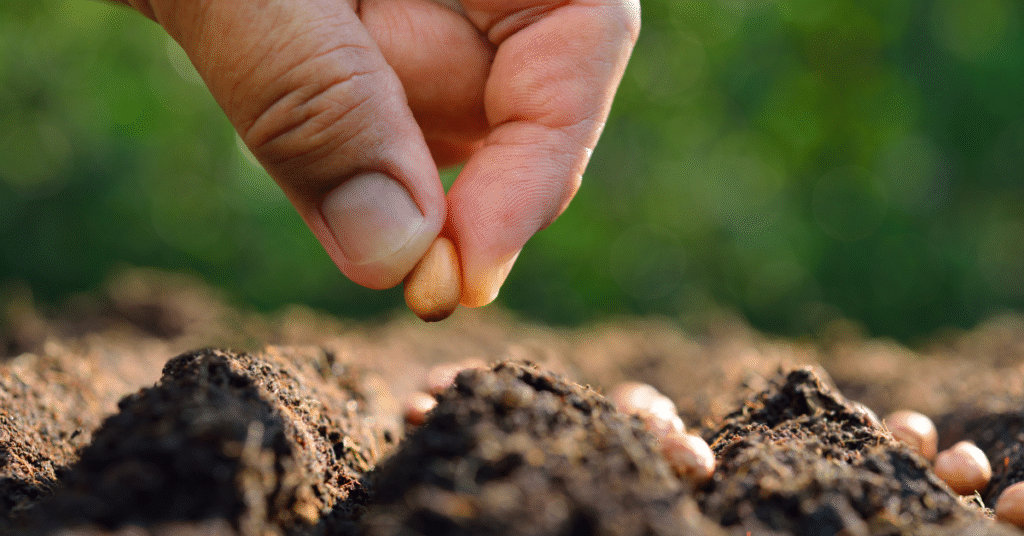
- Read the Packet: The seed packet will give you ideal planting depth and spacing of the seeds.
- Planting the Seeds: As a general rule, most seeds have to be planted at two or three times their width. When you are ready, put an indentation into the ground by using a pencil or a finger.
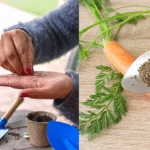
- Put the Seeds: put one or two seeds into each depression. This is so that one of them does not germinate. When sprouting crosses, the chances are that both will shoot and then you can cut off the weaker one at the roots.
- Cover and Label: Very carefully, pour the damp mixture of soil on top of the seeds. Label each pot with the name of the plant and the date they are planted right after placing them.
Step 4: Care of Seeds and Seedling
The earlier stages of days and weeks need as much attention as possible to achieve a successful germination and growth.
- Ensure Warmth: Put your plate of potted seeds in a hot pad or an area that is warm, such as the top of the refrigerator. Most seeds work best when temperatures are between 70-80 degrees Fahrenheit (21-27 degrees Celsius).
- Keep Moisture: Moist soil that is never muddy is the way to go. Spray the surface of the soil daily using a spray bottle or carefully water it with a watering can on top of the soil.
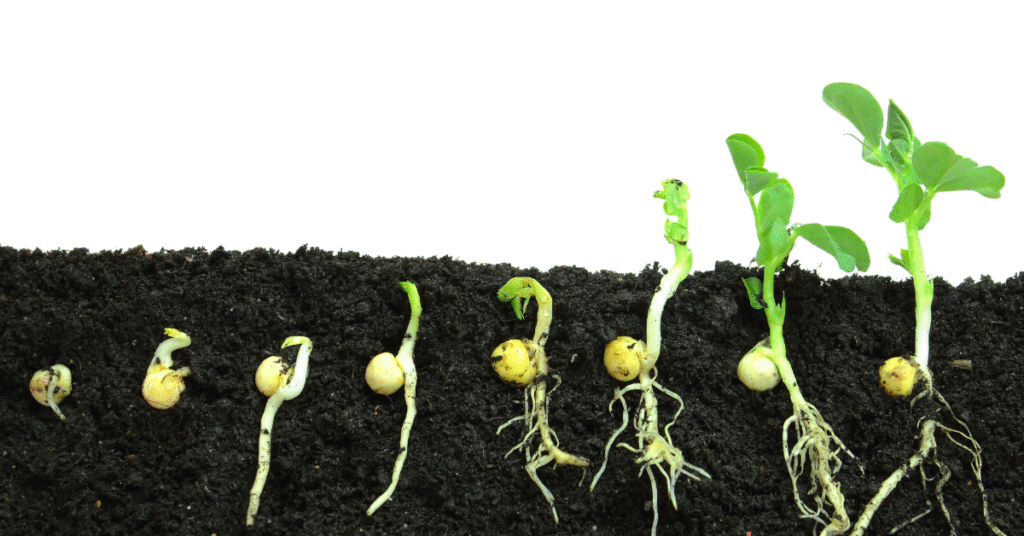
- Exposure to Light After Germination: First sprouting is an indication that you need to expose the plant to light. In case you are using grow light, move it to an approximate height of 2-4 inches above the seedlings. Raising or lowering as they grow will help them to avoid being leggy. Such plants should be given 12-16 hours of light each day.
- Fertilize (Sparingly): Seed starting mix should have as few nutrients as possible. When your seedlings get their first pair of true leaves (which, again, are the second pair of leaves after the initial cotyledons) you can start using a weak, diluted liquid fertilizer once per week.
These tips will give you a great start in producing healthy seedlings that will be ready to go outside. That preliminary attempt will prepare the way to a year of healthy increase and of full harvest.